Mastering Object-Oriented Programming (practicing-OOP) with a Simple Task Manager in JavaScript

Mastering Object-Oriented Programming (OOP) with a Simple Task Manager in JavaScript
Object-Oriented Programming (OOP) is one of the most important paradigms in modern software development. But often, learning OOP in theory doesn’t help much when it comes to applying it in real-world projects. In this article, we will walk through building a Task Manager application in vanilla JavaScript while implementing core OOP principles such as Encapsulation, Abstraction, Inheritance, and Polymorphism.
By the end of this guide, you’ll not only understand OOP concepts but also see how they translate into actual coding practices.
What is Object-Oriented Programming (OOP)?
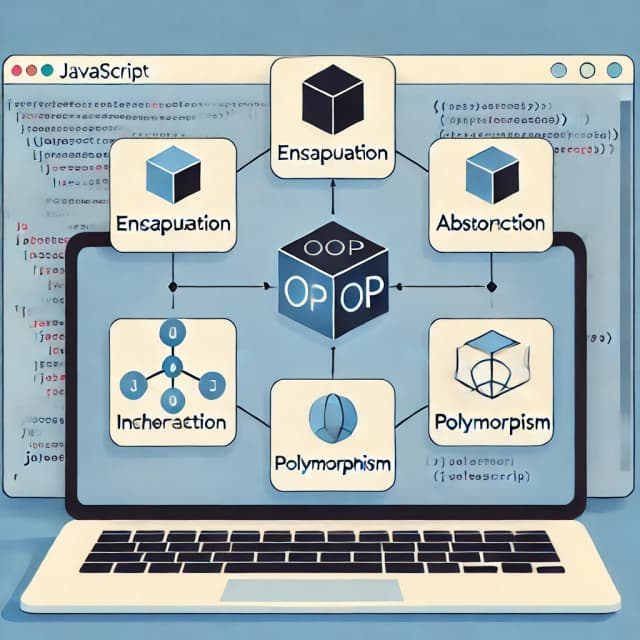
OOP is a programming paradigm that structures code around objects rather than functions and logic. The four fundamental principles of OOP are:
- Encapsulation: Grouping related variables and functions into objects and restricting direct access to their internal state.
- Abstraction: Hiding unnecessary implementation details and exposing only the essential parts.
- Inheritance: Allowing one class to inherit properties and methods from another class.
- Polymorphism: Enabling objects of different classes to be treated as instances of the same class through method overriding.
Now, let’s see how these principles apply in a practical scenario.
Step 1: Setting Up the Project Structure
We will organize our Task Manager project in the following structure:
/task-manager
├── /css
│   └── styles.css
├── /js
│   ├── task.js        # Task class (Encapsulation)
│   ├── taskList.js    # TaskList class (Abstraction)
│   ├── taskUI.js      # TaskUI class (Separation of concerns)
│   └── app.js         # Main application logic
├── index.html         # The main HTML file
└── README.md          # Project documentation
Each JavaScript file will represent a different responsibility in our project, adhering to the Single Responsibility Principle (SRP) from SOLID principles.
Step 2: Defining the Task Class (Encapsulation)
Encapsulation means bundling data (properties) and methods inside a class. Let’s create a Task class that represents a single task:
// js/task.js
class Task {
    constructor(name, dueDate, priority) {
        this.name = name;
        this.dueDate = dueDate;
        this.priority = priority;
    }

    display() {
        return `${this.name} (Due: ${this.dueDate}, Priority: ${this.priority})`;
    }
}

export { Task };
The Task class encapsulates all task-related data and behavior. It provides a display() method to return a readable string representation of the task.
Step 3: Creating a Task List (Abstraction)
Instead of handling an array of tasks directly, we use a TaskList class to abstract task management.
// js/taskList.js
import { Task } from './task.js';

class TaskList {
    constructor() {
        this.tasks = [];
    }

    addTask(name, dueDate, priority) {
        const task = new Task(name, dueDate, priority);
        this.tasks.push(task);
    }

    getTasks() {
        return this.tasks;
    }
}

export { TaskList };
The TaskList class hides the complexity of managing an array of tasks, exposing only the necessary methods.
Step 4: Managing the UI with a Separate Class
To ensure separation of concerns, we create a TaskUI class to handle DOM manipulation.
// js/taskUI.js
import { TaskList } from './taskList.js';

class TaskUI {
    constructor() {
        this.taskList = new TaskList();
        this.taskContainer = document.getElementById('taskContainer');
    }

    addTaskHandler() {
        const name = document.getElementById('taskName').value;
        const dueDate = document.getElementById('taskDueDate').value;
        const priority = document.getElementById('taskPriority').value;

        if (name && dueDate) {
            this.taskList.addTask(name, dueDate, priority);
            this.render();
        }
    }

    render() {
        this.taskContainer.innerHTML = '';
        this.taskList.getTasks().forEach(task => {
            const taskElement = document.createElement('div');
            taskElement.textContent = task.display();
            this.taskContainer.appendChild(taskElement);
        });
    }
}

export { TaskUI };
Now, our UI logic is encapsulated inside TaskUI, making it easy to modify or extend later.
Step 5: Bringing Everything Together in app.js
// js/app.js
import { TaskUI } from './taskUI.js';

const ui = new TaskUI();
window.ui = ui;
Here, we instantiate the TaskUI class and assign it to window.ui so it can be accessed from the HTML.
Step 6: Adding Simple Styling
/* css/styles.css */
body {
    font-family: Arial, sans-serif;
    margin: 20px;
}

#taskContainer div {
    padding: 10px;
    border: 1px solid #ccc;
    margin: 5px 0;
}
This gives a basic structure to our task list.
Final Thoughts on OOP Implementation
We’ve built a fully functional Task Manager app while applying OOP principles:
✅ Encapsulation: The Task class encapsulates task properties and behavior.
✅ Abstraction: The TaskList class abstracts the logic of task management.
✅ Inheritance: This project doesn’t use inheritance directly, but you could extend the Task class (e.g., RecurringTask).
✅ Polymorphism: If multiple task types were implemented, they could share the same interface and behave differently when display() is called.
By structuring our code with OOP, we ensure that our project is scalable, modular, and easy to maintain.
What’s Next?
- Add localStorage to persist tasks.
- Implement task deletion and editing.
- Extend with Inheritance (e.g.,
RecurringTask).
By practicing OOP in small projects like this, you’ll build a strong foundation for working with more advanced architectures in React, Next.js, and other frameworks.
Happy coding! 🚀